
Nullam dignissim, ante scelerisque the is euismod fermentum odio sem semper the is erat, a feugiat leo urna eget eros. Duis Aenean a imperdiet risus.

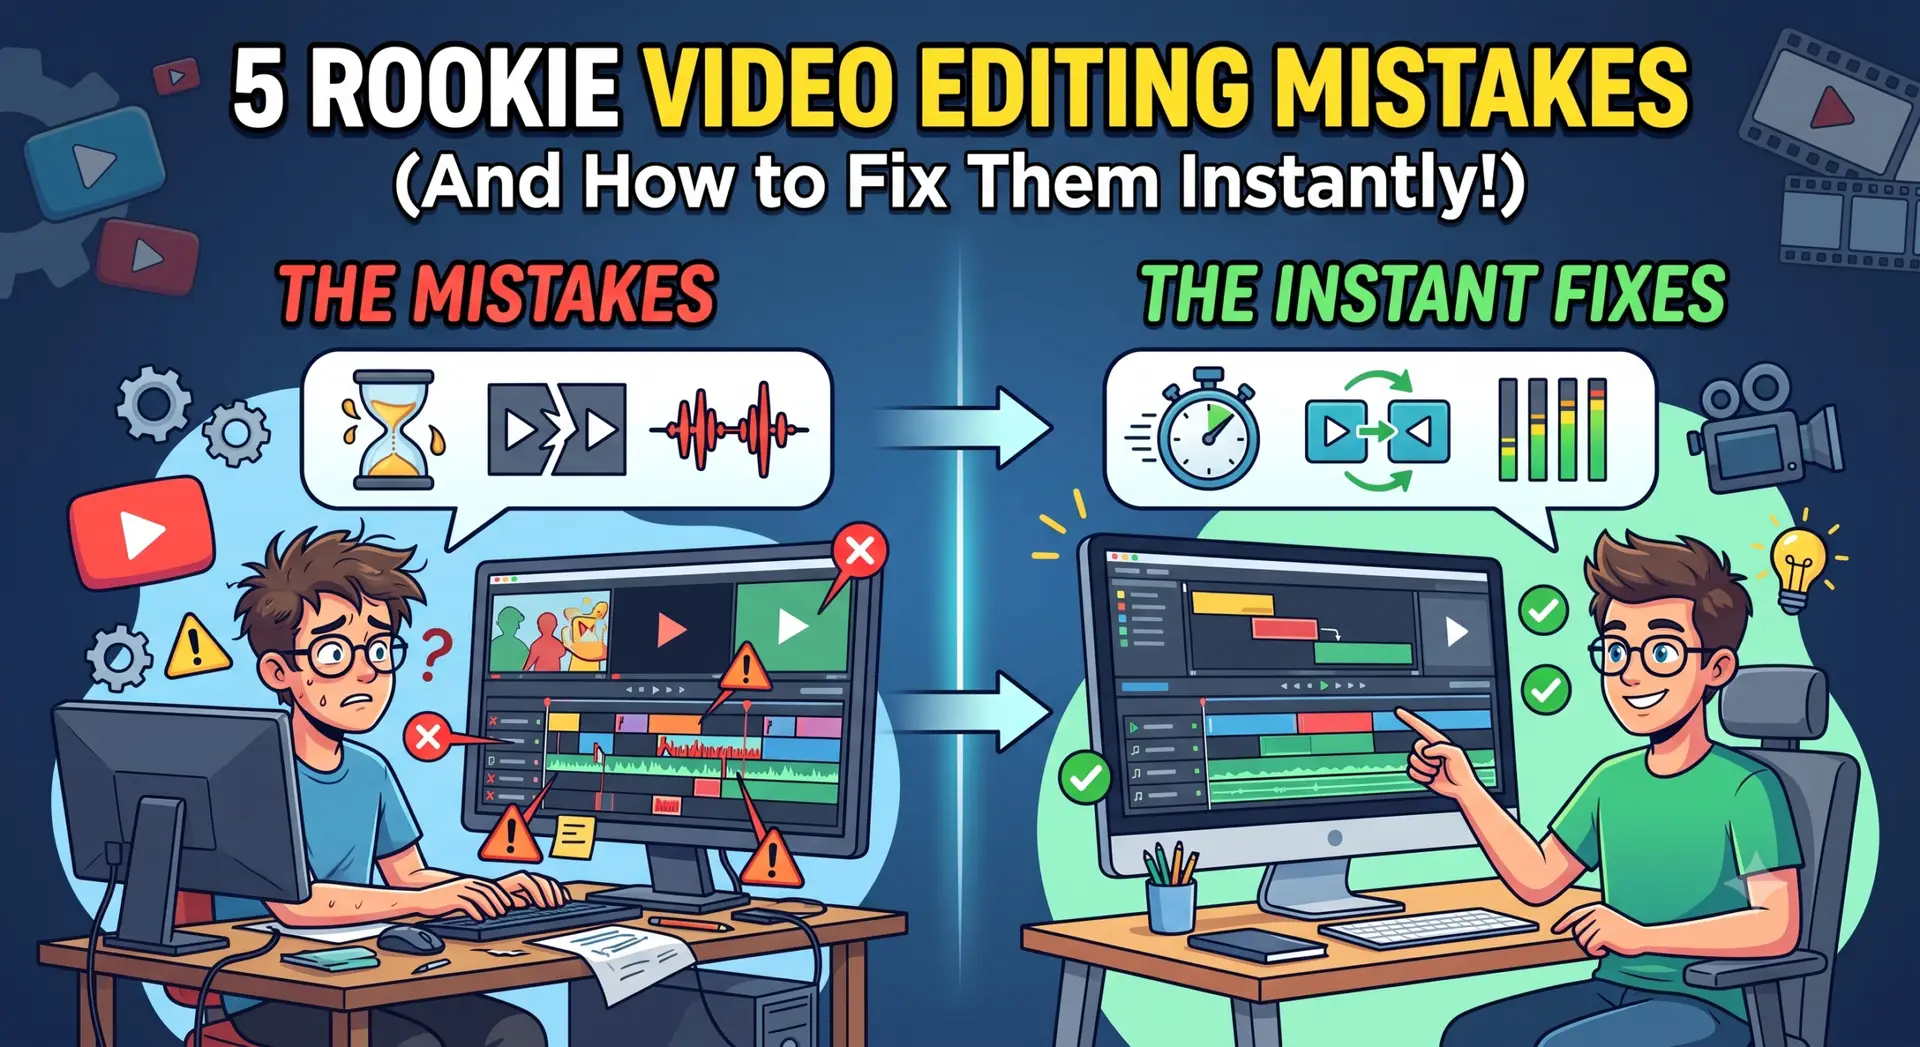
5 Rookie Video Editing Mistakes (And How to Fix Them Instantly)
We’ve all been there. You spend six hours meticulously cutting together a video, export it with pride, and hit play—only to realize it feels a bit… amateur. Don’t panic! Video editing is a craft, and every professional editor started exactly where you are standing right now. The good news? Making your videos look 10x more professional doesn’t require a Hollywood budget; it just requires breaking a few bad habits.
When you’re first getting started with powerful suites like Premiere Pro, DaVinci Resolve, or Final Cut, the sheer volume of buttons, panels, and effects can feel completely overwhelming. It is easy to get distracted by what your software can do, rather than focusing on what your story needs. To help you instantly elevate your content, let’s break down the 5 most common rookie video editing mistakes and explore the exact techniques to correct them on your very next timeline.
1. Overusing Flashy Transitions
It is incredibly tempting when you first discover the transitions panel to want to show off every effect. Whip pans, cube spins, digital glitches, and star wipes feel exciting to use. However, overusing flashy transitions is the fastest way to signal to your audience that an amateur is at the controls. When a transition constantly screams for attention, it pulls the viewer completely out of the world, pace, or message of your video.
💡 THE FIX: Stick to Clean Cuts & Cross-Dissolves A great cut should be practically invisible. Lean on the standard hard cut 90% of the time. If you want to convey a passage of time or a gentle shift in tone, a subtle cross-dissolve or a dip-to-black is perfect. Only implement a stylized transition if it directly serves a structural or narrative purpose—like a glitch effect for a tech breakdown or a whip-pan to follow rapid movement.
2. Ignoring or Mismanaging Audio Levels
Viewers will easily forgive mediocre video quality, but they will click away from bad audio in a heartbeat. The two classic audio mistakes rookies make are leaving background music so loud that it completely drowns out the speaker, and letting dialogue levels fluctuate wildly from quiet whispers to deafening spikes.
💡 THE FIX: Master Your Decibels (-12dB to -6dB) Always keep an eye on your audio mixing meters. As a golden rule, your main speaking dialogue should sit safely between -12dB and -6dB. Your background music should be tucked far underneath, typically resting between -25dB and -18dB depending on the intensity of the track. Use audio keyframes or your software’s “essential sound audio ducking” feature to automatically dip the music whenever someone speaks.
- Pro Tip: Always edit your audio while listening through headphones, not just your laptop or monitor speakers. Laptop speakers compress audio artificially, masking hidden background hums or peaking frequencies that your audience will definitely notice on mobile devices or TVs.
3. Relying Solely on the Mouse (Ignoring Keyboard Shortcuts)
If your editing workflow consists entirely of clicking a tool icon on a toolbar, dragging it to the timeline, making a cut, clicking back to the selection tool, and moving the clip—you are bleeding valuable time. Editing with a mouse alone turns a fun, creative process into a tedious, exhausting chore, ultimately burning you out before the project is finished.
💡 THE FIX: Learn the ‘J-K-L’ and Ripple Edit Keys Your left hand should rarely leave your keyboard. Start by practicing the J-K-L navigation method: ‘J’ rewinds, ‘K’ pauses, and ‘L’ fast-forwards your playback. Next, master your Ripple Edit keys (usually ‘Q’ and ‘W’ in Adobe Premiere). Pressing these will instantly trim everything to the left or right of your playhead and automatically close the resulting gap on your timeline. This single habit will cut your editing time in half.
4. Skipping Basic Color Correction for Stylized LUTs
Many beginners import their raw footage, immediately throw a “cinematic LUT” (Look-Up Table) they downloaded online onto the clip, and wonder why the video looks muddy, oversaturated, or completely washed out. A LUT is a stylistic finish; it is not a magical fix for poorly exposed or improperly white-balanced footage.
💡 THE FIX: Correct Exposure and Balance First Always treat color in two distinct stages: Correction first, then Grading. Pop open your software’s color panel (like Lumetri Color or Color Wheels) and use the basic contrast, exposure, white balance, and saturation sliders so the footage looks naturally realistic. Only after your clips look correctly balanced should you apply a creative LUT—and remember to dial its intensity down to around 40-60% for a polished, professional look.
5. Keeping the “Fluff” (Poor Pacing)
It hurts to cut footage you spent hours filming, but keeping long gaps of dead air, awkward breaths, or repetitive sentences kills your video’s momentum. If a shot takes five seconds to get moving or a speaker takes too long to reach the punchline, the modern viewer will lose interest and scroll away.
💡 THE FIX: Edit for Momentum and Retention Be ruthless with your cuts. Tighten up your dialogue by clipping out excessive “ums,” “ahs,” and long pauses between sentences (creating clean jump cuts or covering them up with relevant, high-quality B-roll footage). Every single frame left on your final timeline must earn its place by either advancing the story, delivering crucial information, or matching the emotion of the piece.
Conclusion: Video Editing is a Muscle
Don’t be discouraged if you’ve made these mistakes on your recent projects. Recognizing these pitfalls is the first major step toward becoming an elite editor. Video editing is a muscle—the more sequences you cut, the sharper your instincts become.
On your very next project, pick just one of these fixes to focus on—whether it’s keeping your dialogue strictly at -12dB or committing to using keyboard shortcuts. You’ll be amazed at how quickly your content transforms from a casual home movie into a high-retention, professional-grade production.
What’s the biggest editing hurdle you’re facing right now? Let us know in the comments below, and don’t forget to subscribe to our newsletter for more post-production tips!